VinyLED Strips - Tippster Automotive


Main menu:
VinyLED Strips
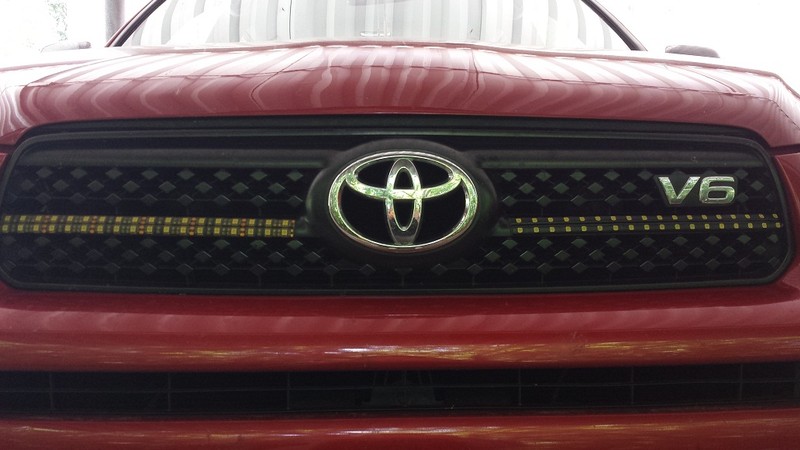
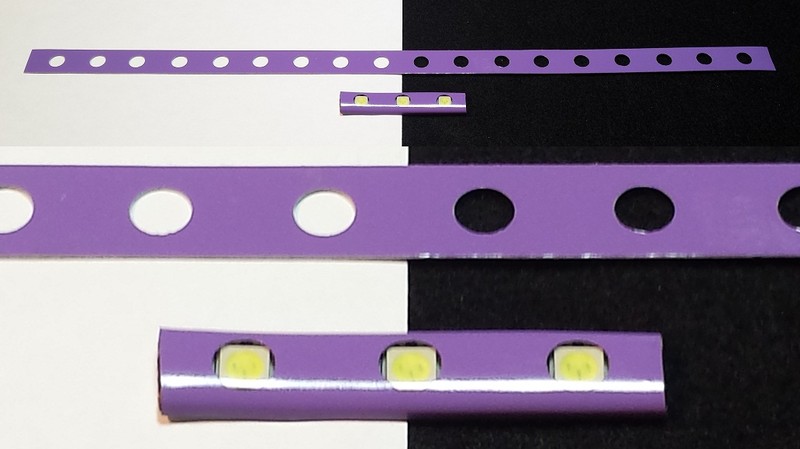
Accent lighting takes on a whole new look with VinyLED!
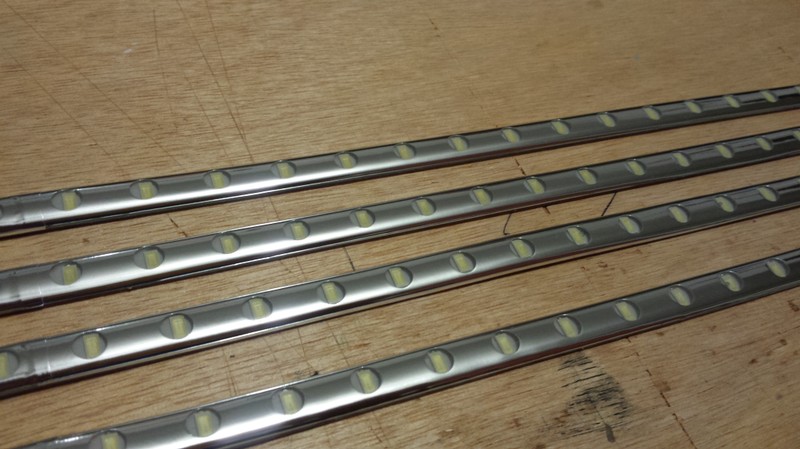
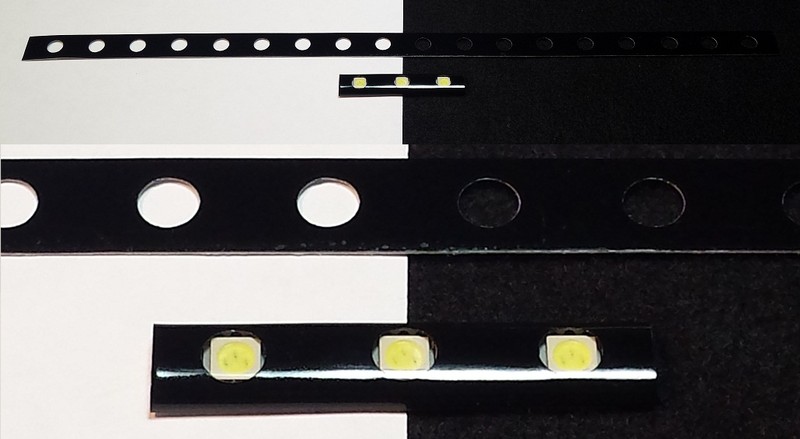
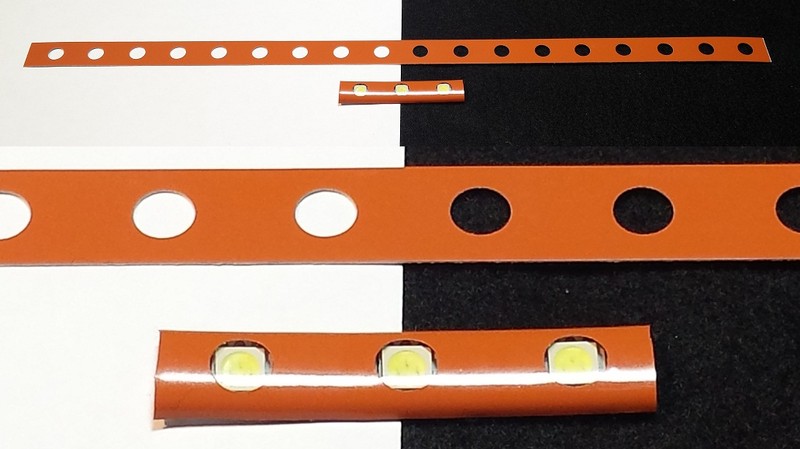
VinyLED strips (patent pending) are a new innovation which enable the end user to customize new or existing waterproof LED strips to their choice of colors. The end result is a completely new look of the same old LED strip.
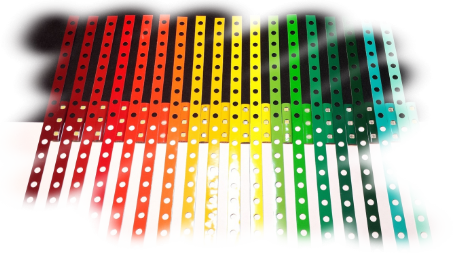
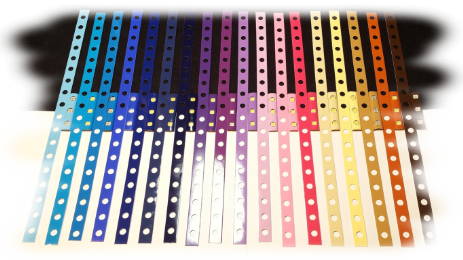
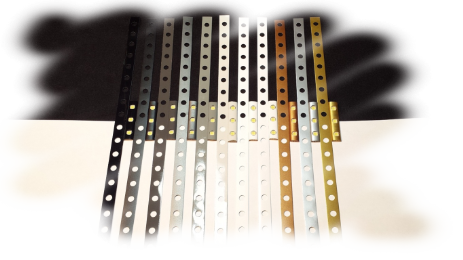
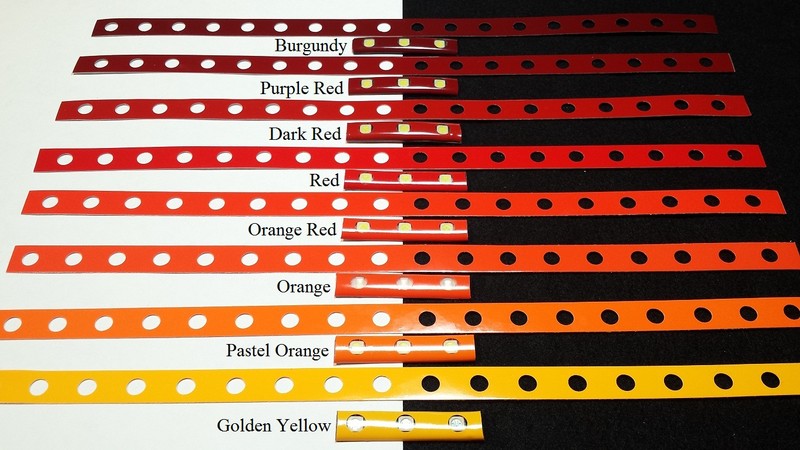
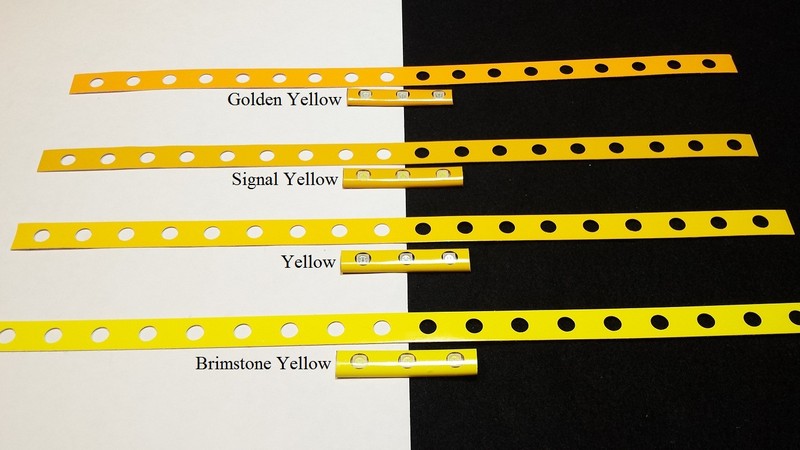
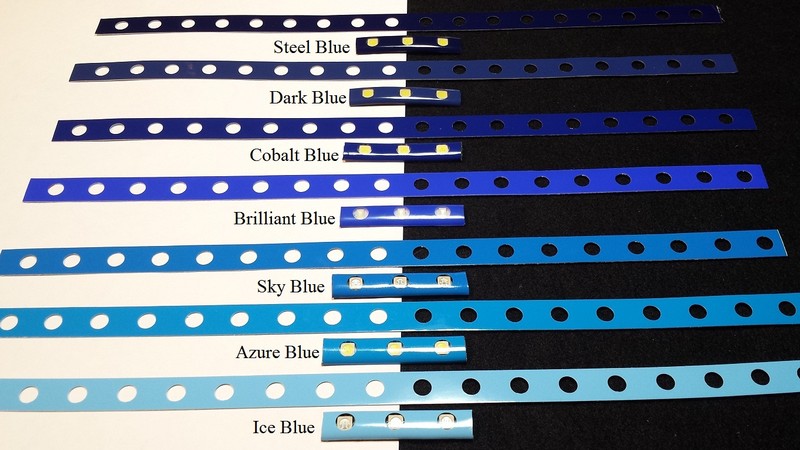
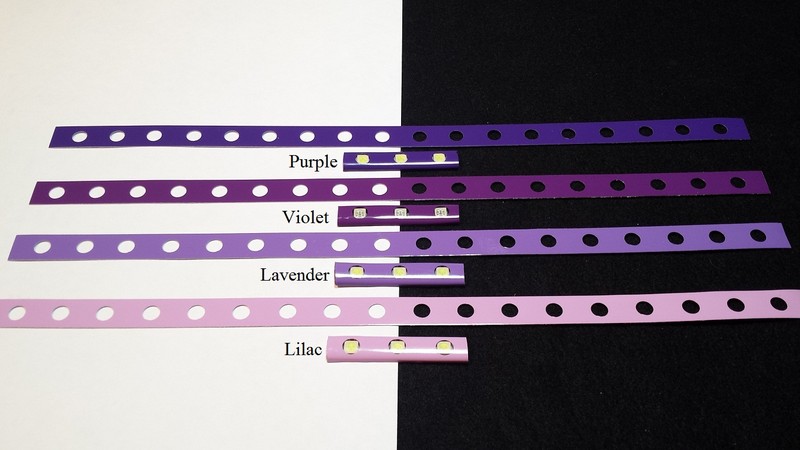
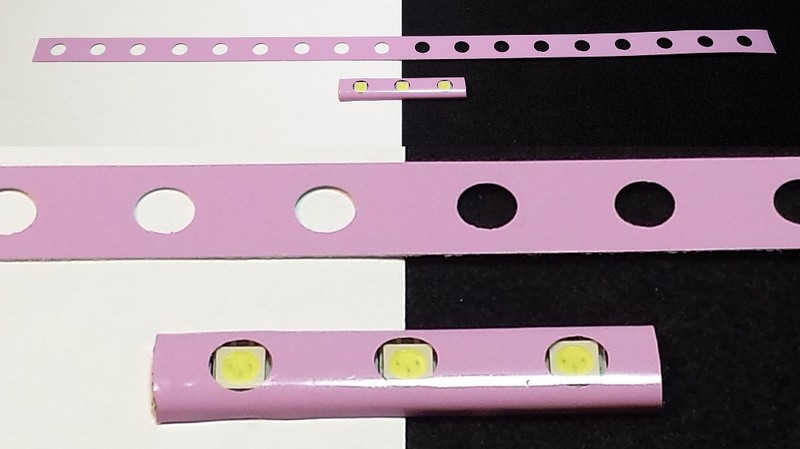
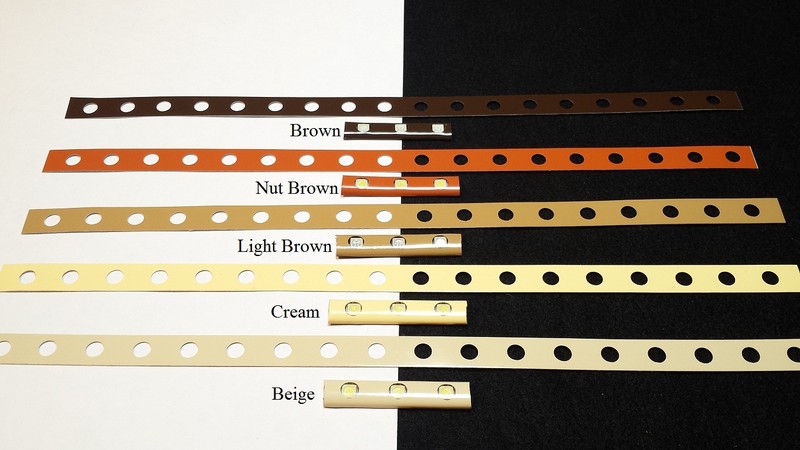
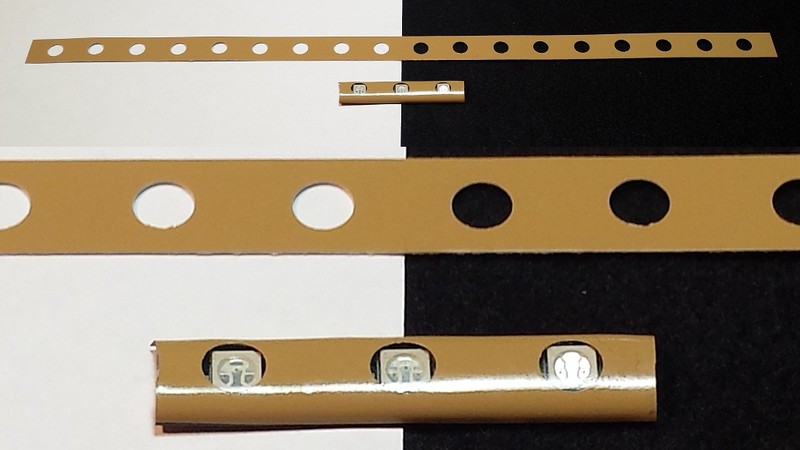
Made from weatherproof adhesive backed vinyl, VinyLED strips are designed to have a 3 to 5 year exterior life, and lifetime interior life. They are available in your choice of 49 different colors, ensuring a near OEM look of vehicle color, or a great accent to any room in the house.
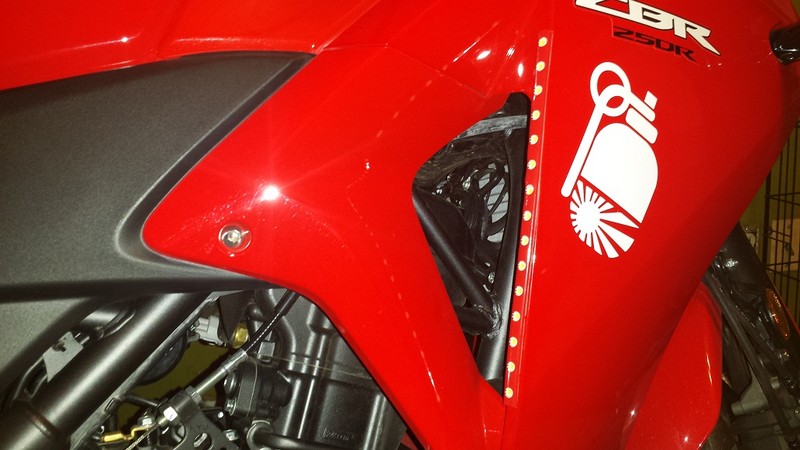
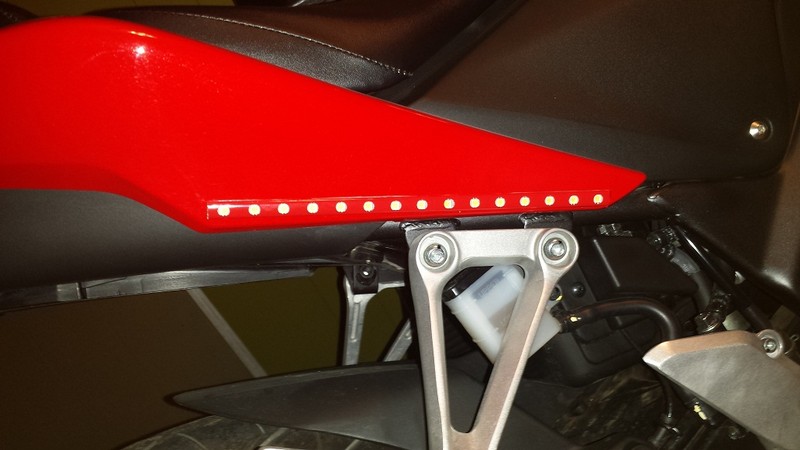
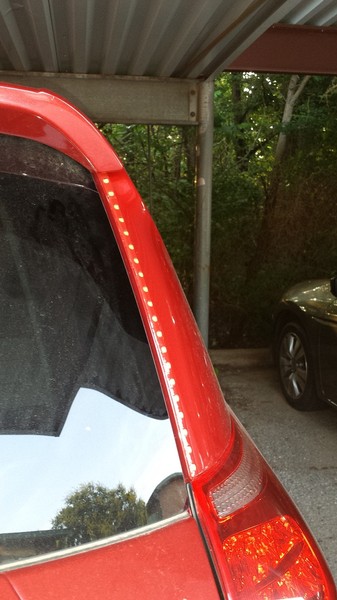
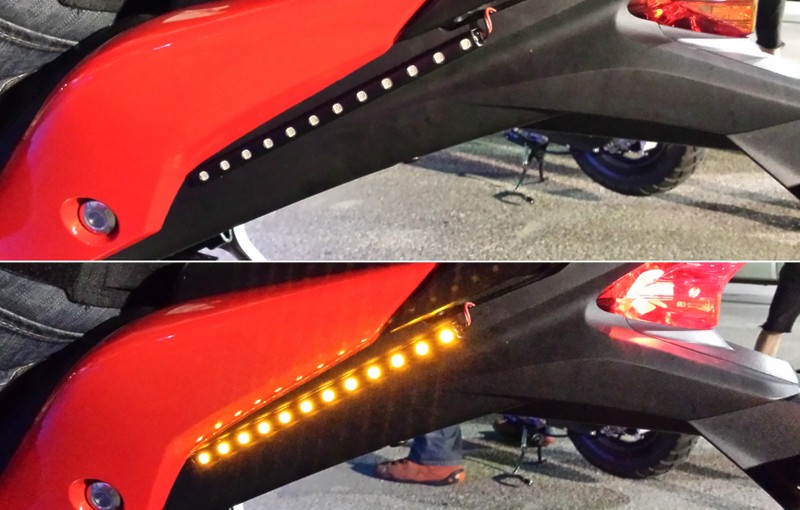
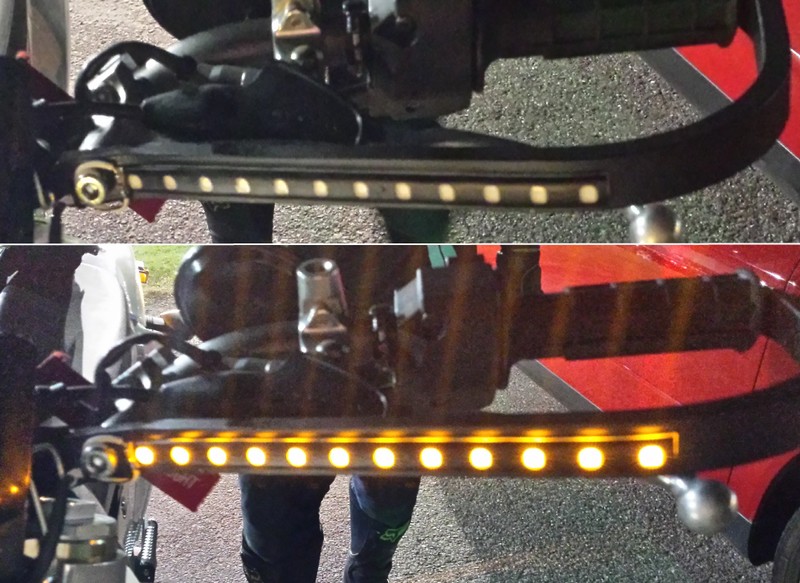
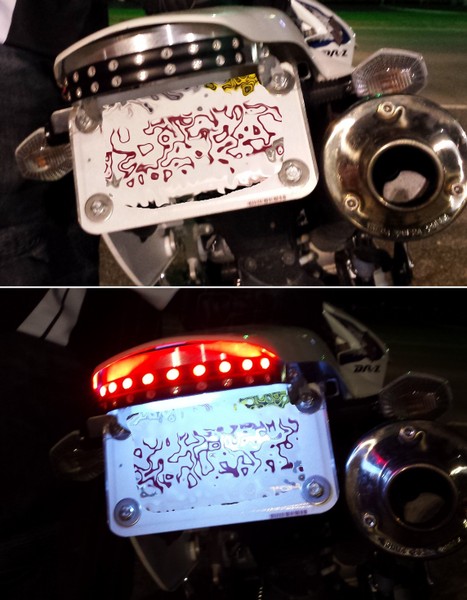
Applications include: Automotive: Cars, Trucks, SUVs, Motor Homes, Motorcycles, Boats, and even Aircraft...
Commercial: Bars, Restaurants, Stores, Point of Sale Displays... Residential: Entertainment Centers, Shelf and Display Cases, Kitchen Cabinets, Exterior Yard and Porch Accents...
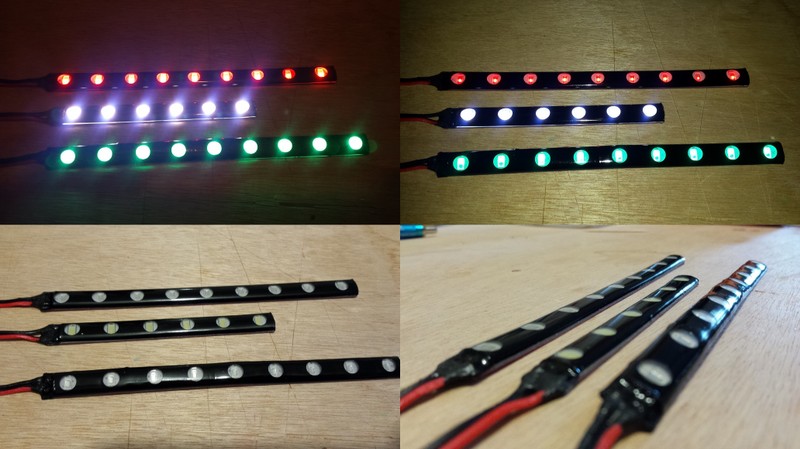
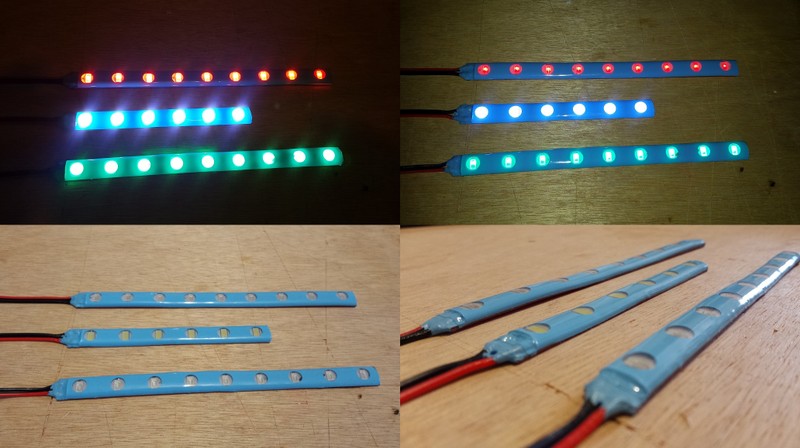
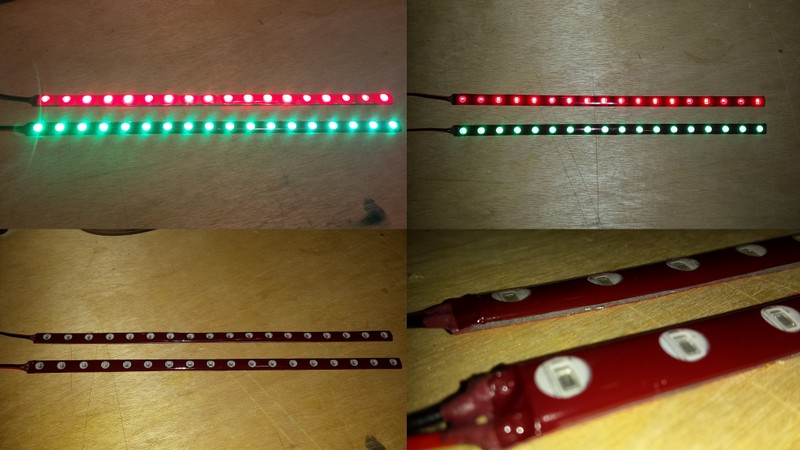
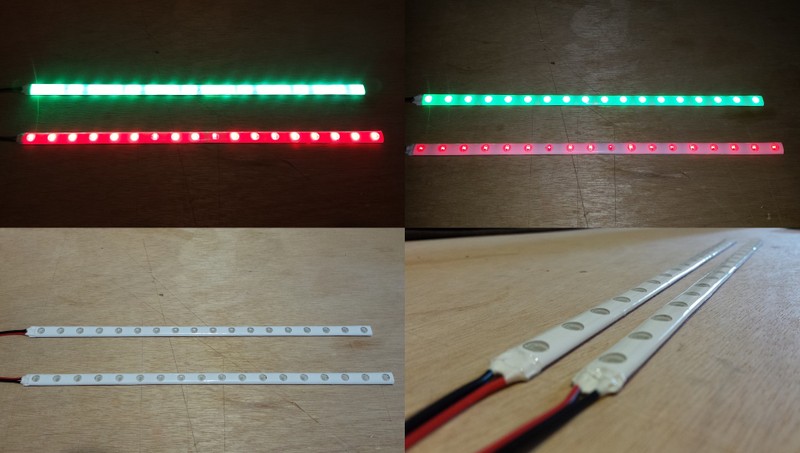
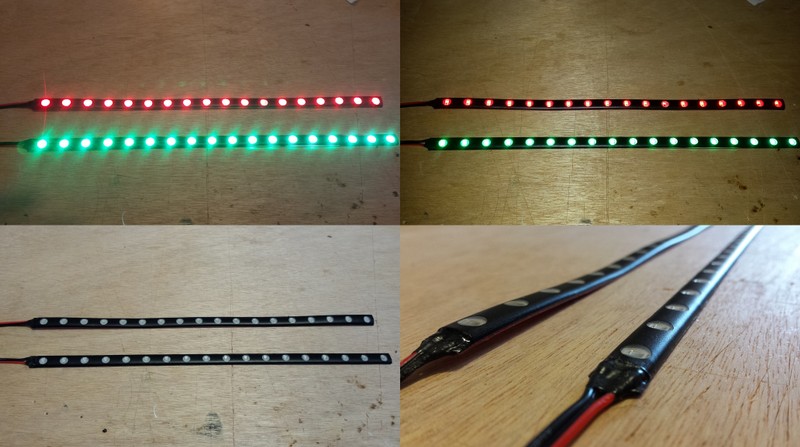

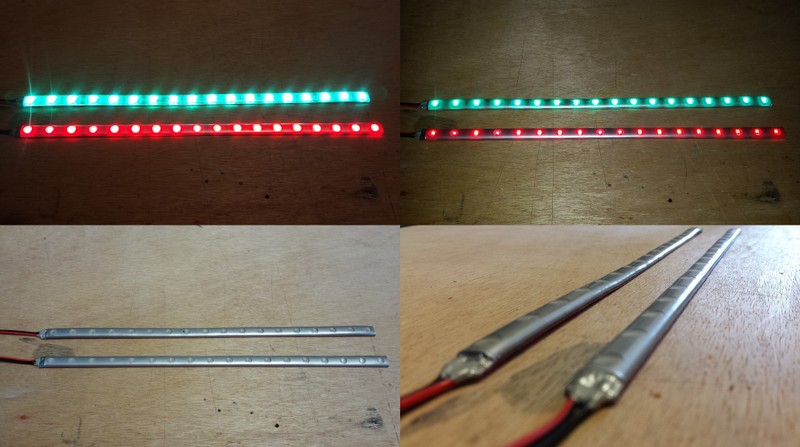
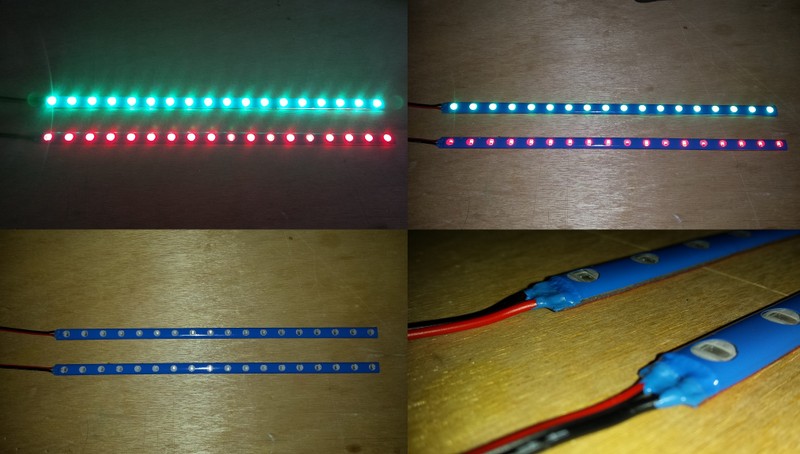
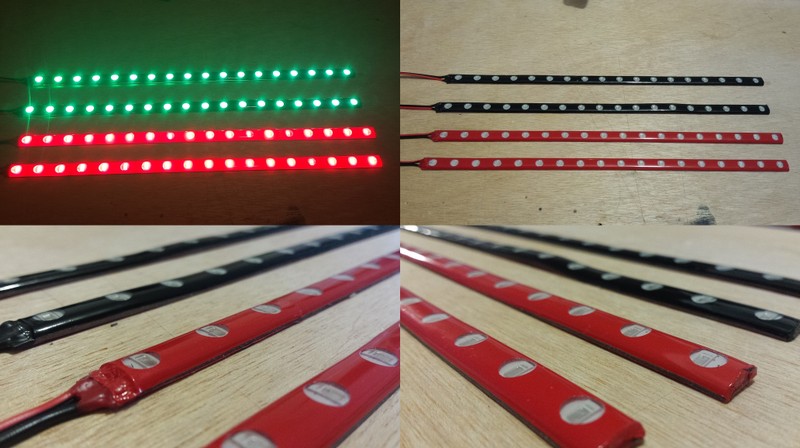
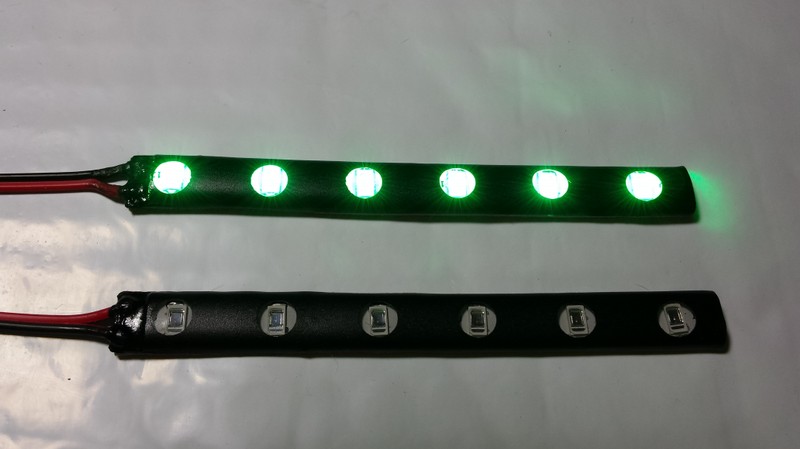
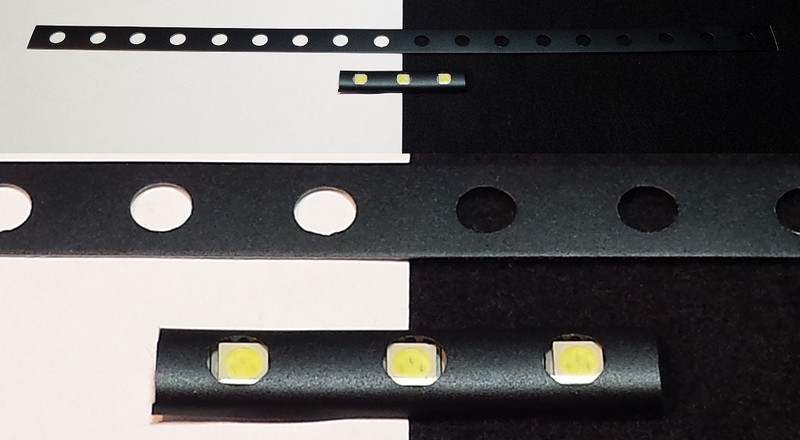
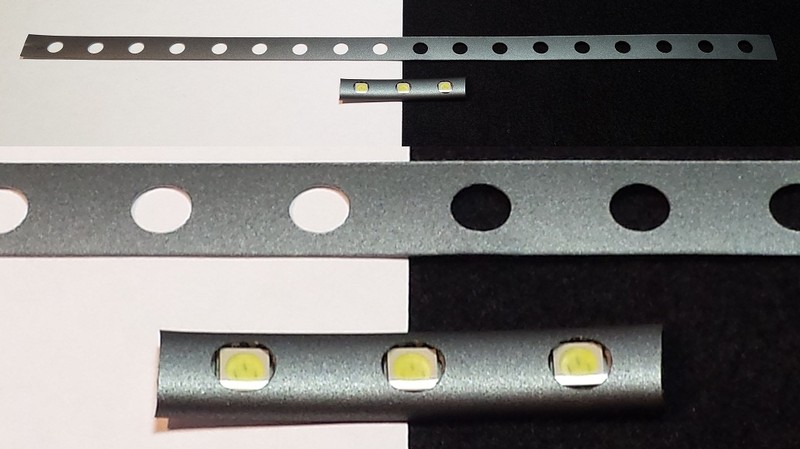
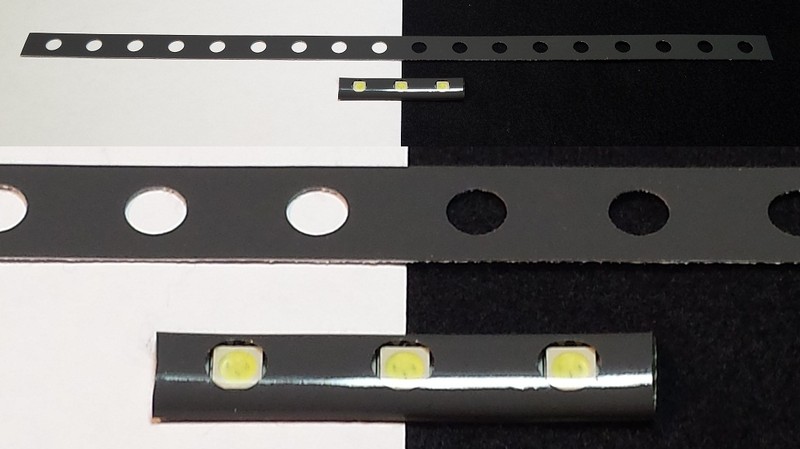
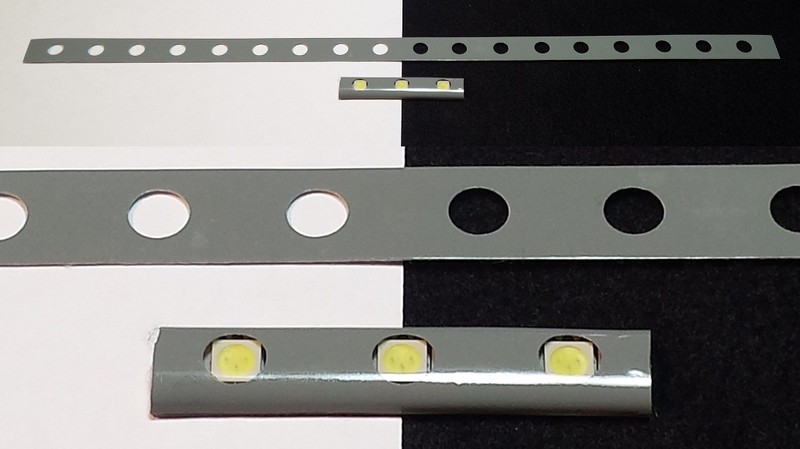
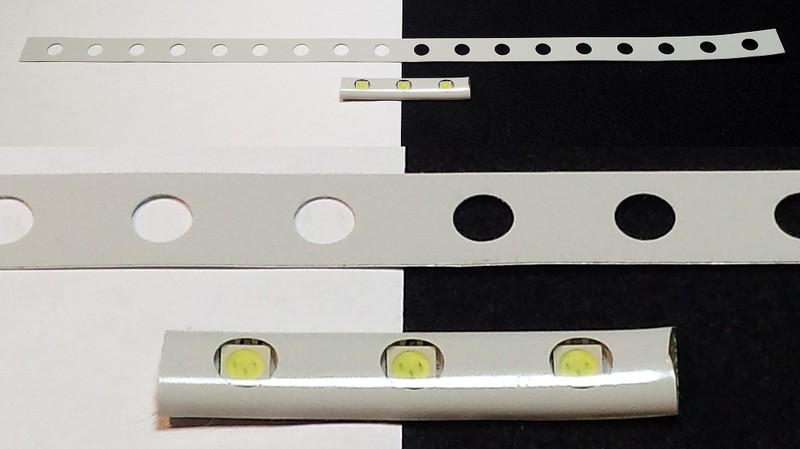
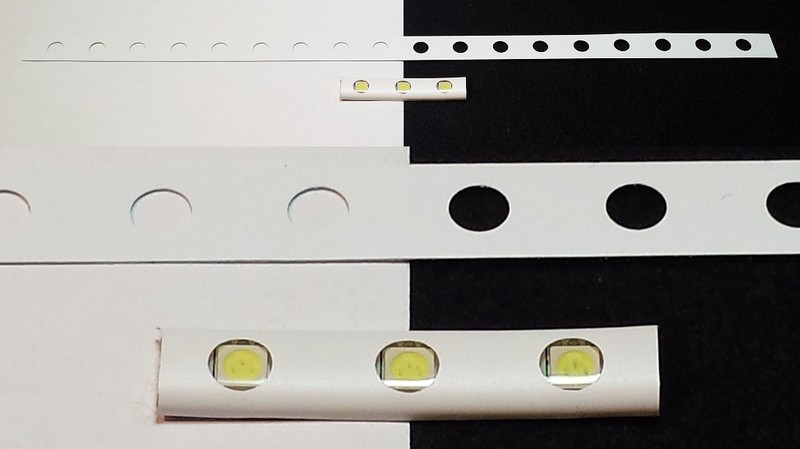
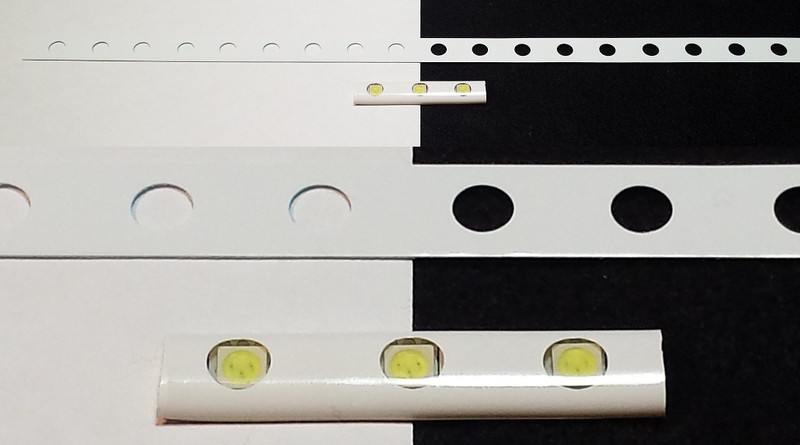
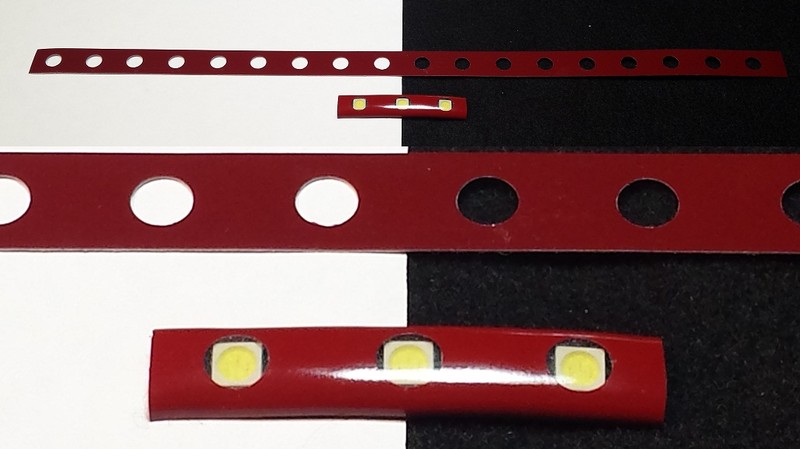
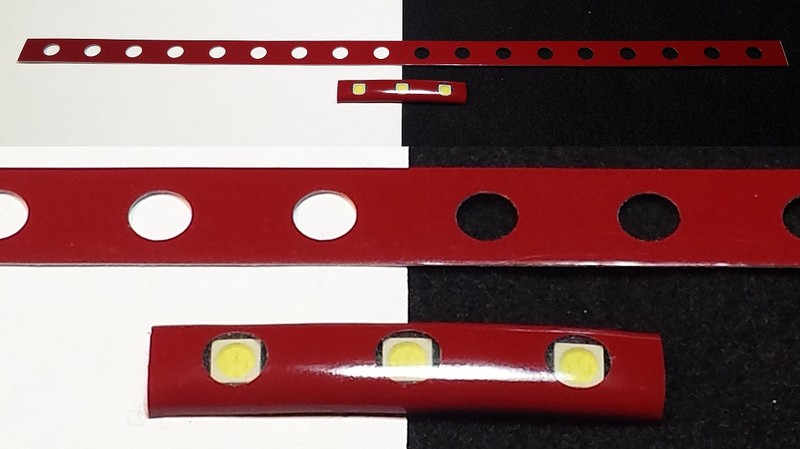
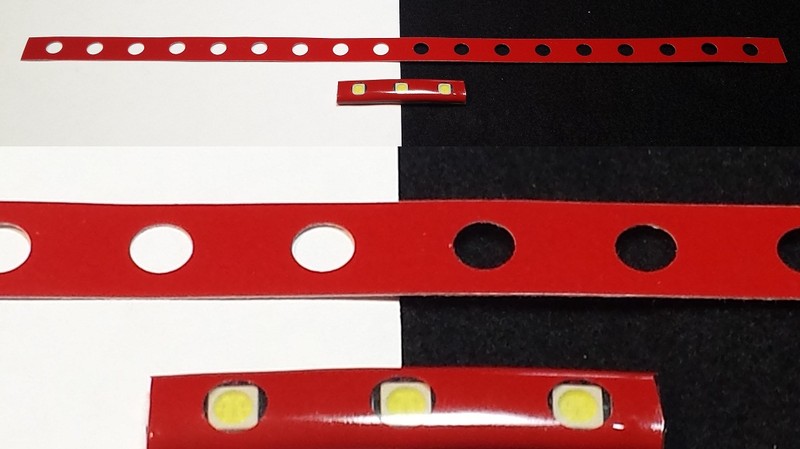
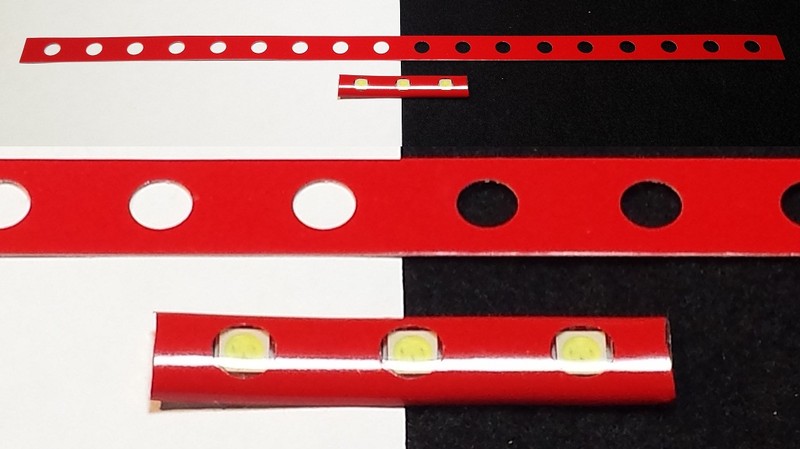
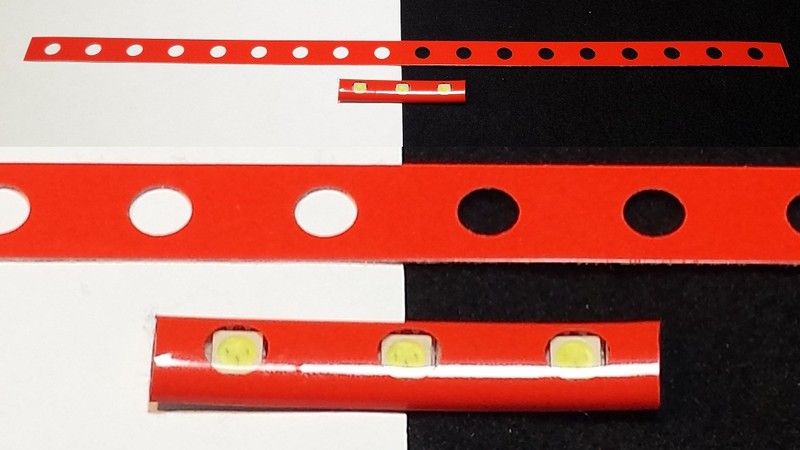
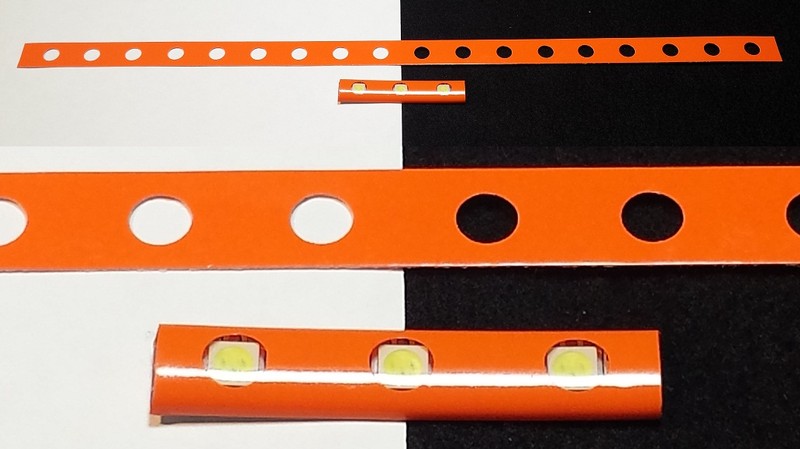
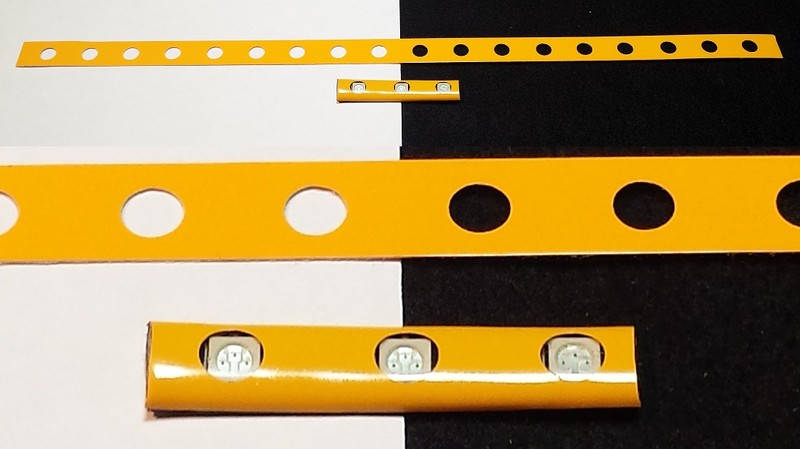
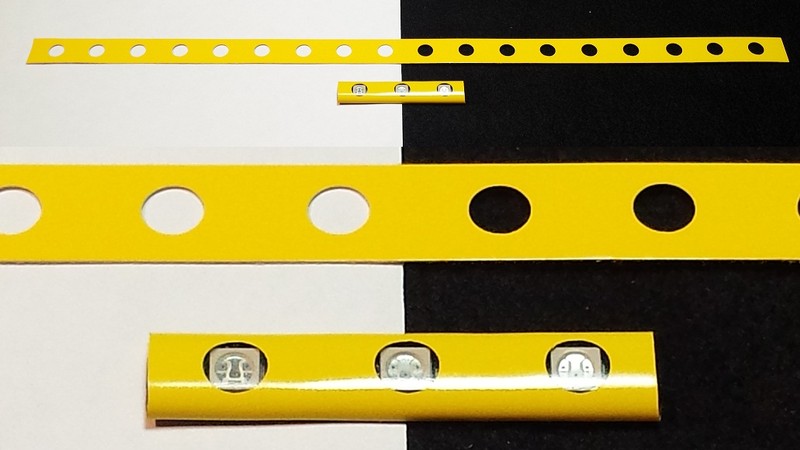
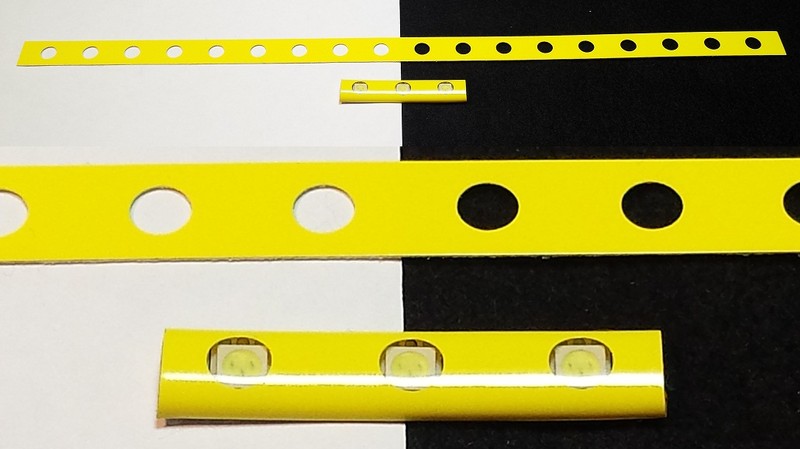
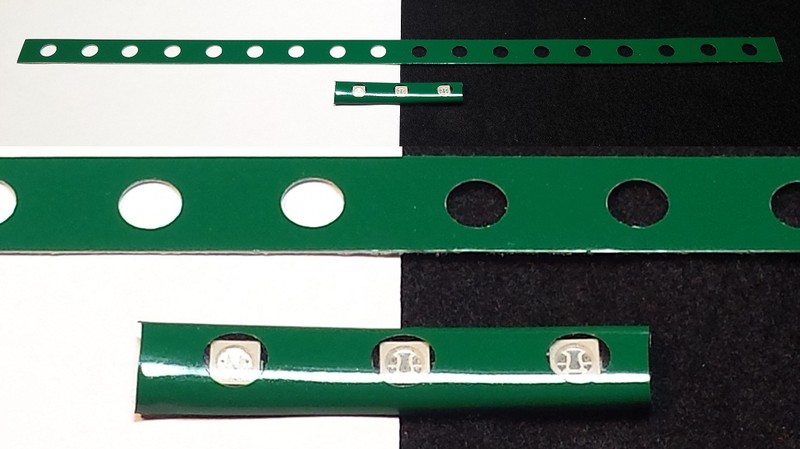
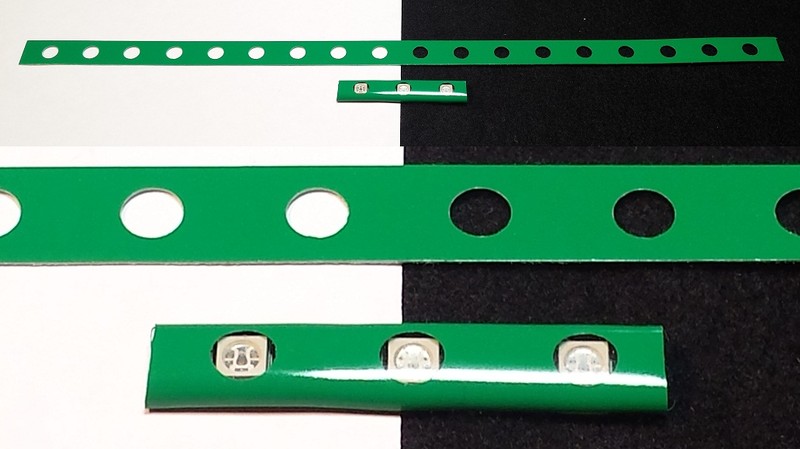
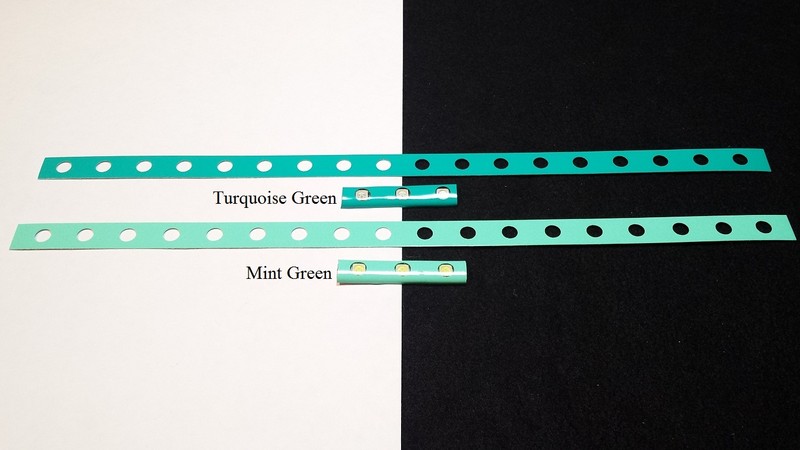
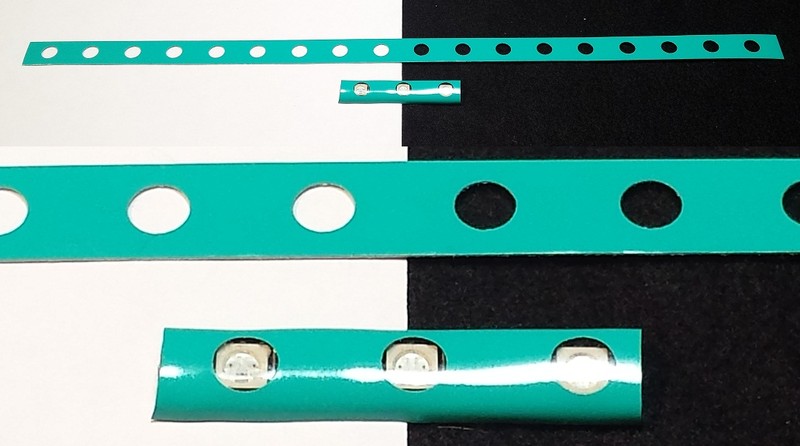
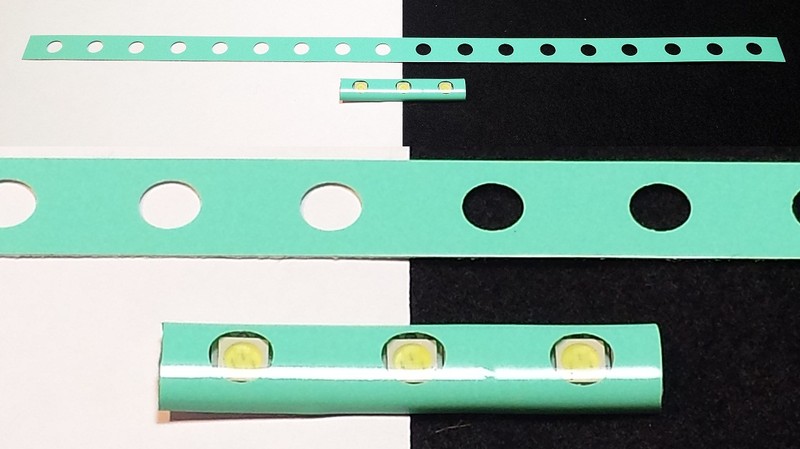
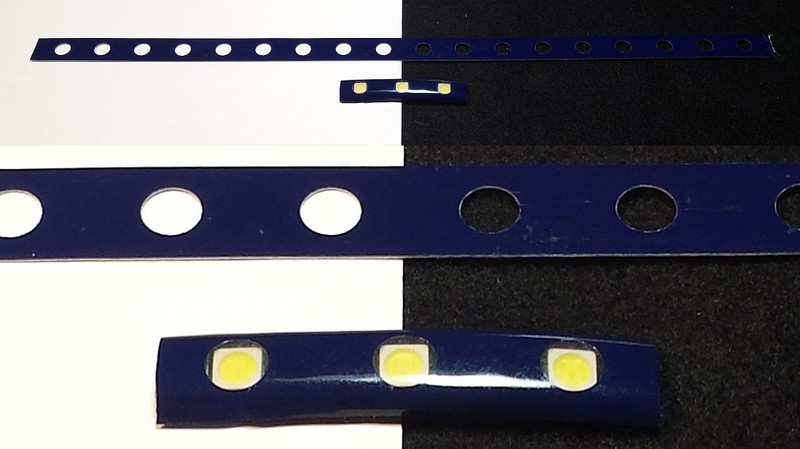
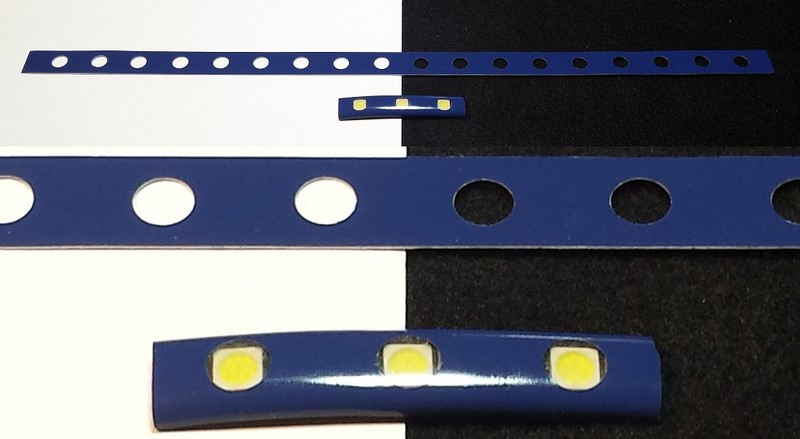
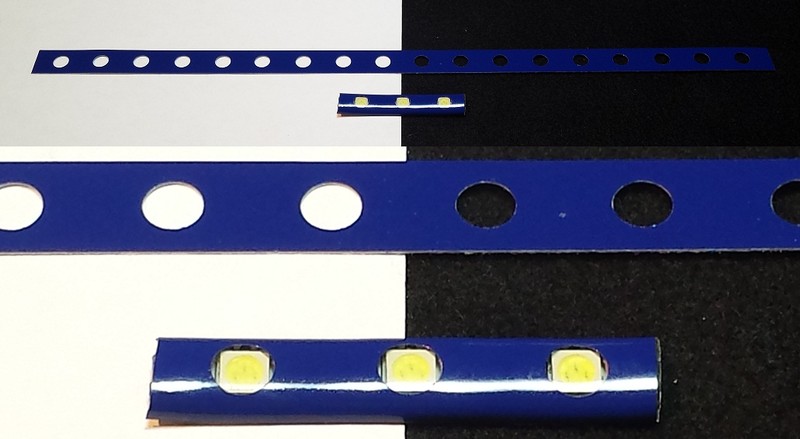
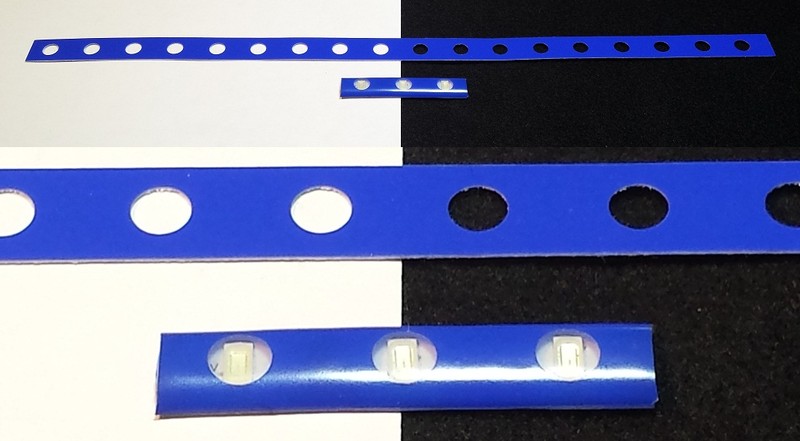
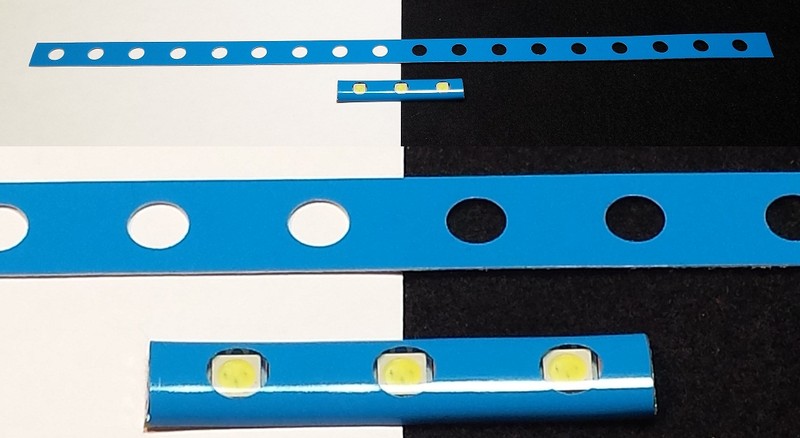
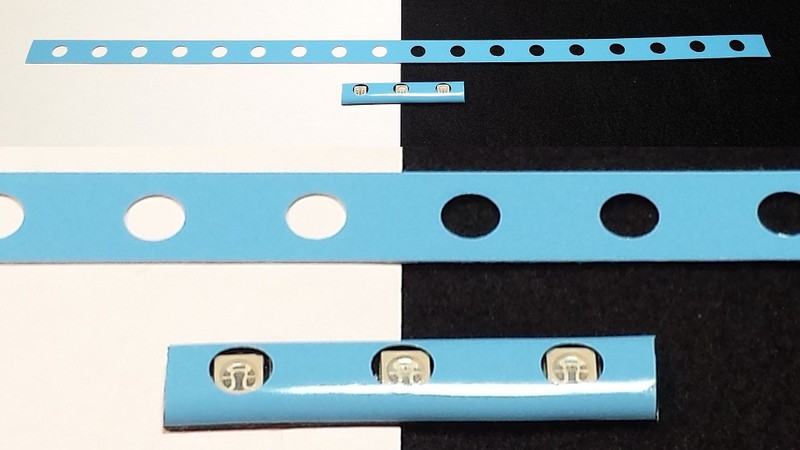
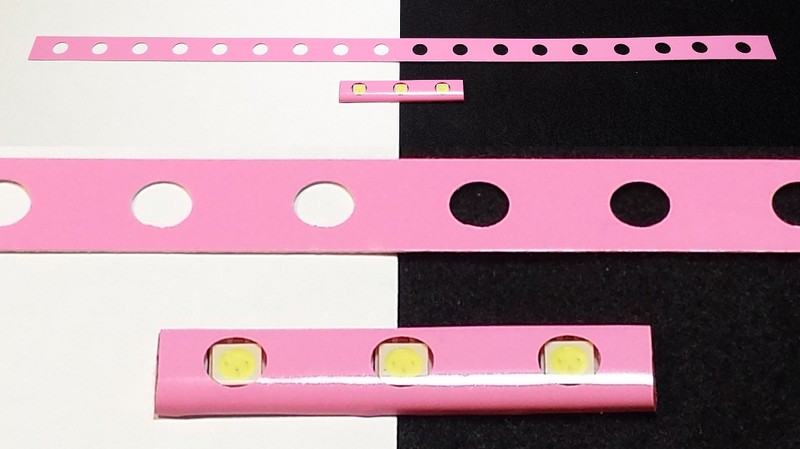
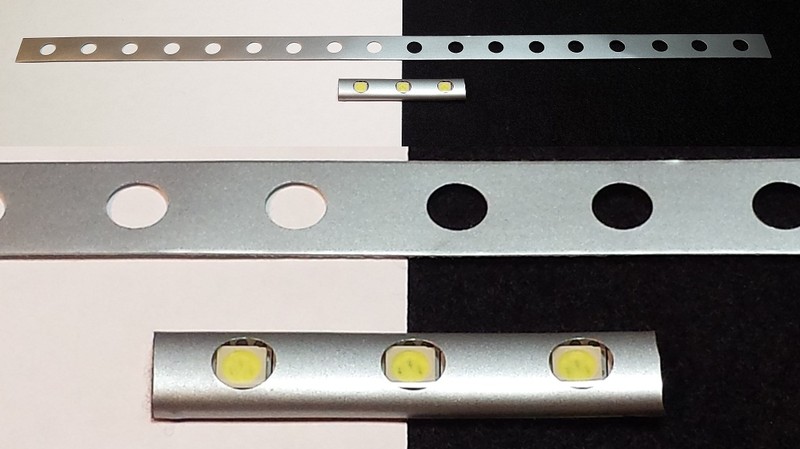
What is VinyLED, how it looks, and how it's applied to an LED strip.
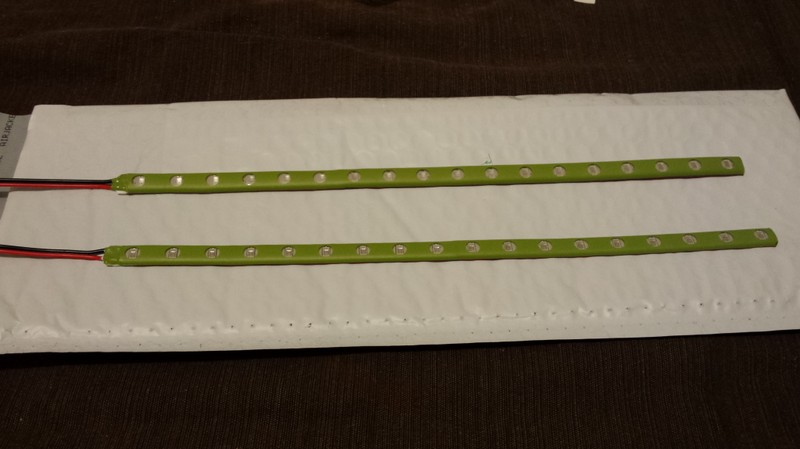
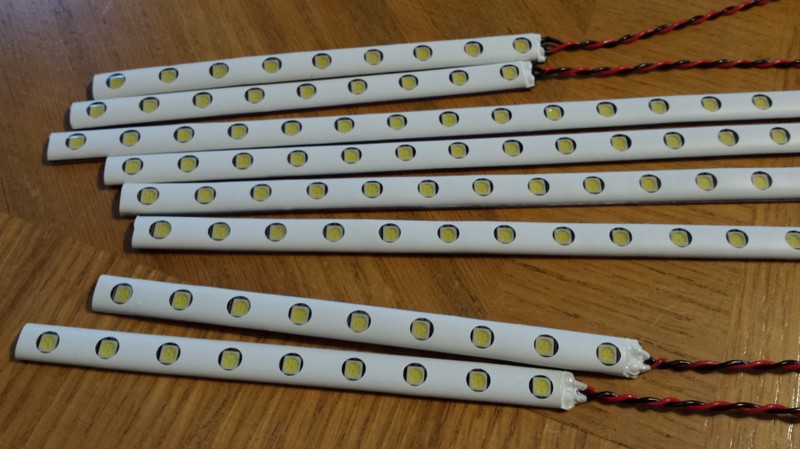
VinyLED strips are currently manufactured for the 60 LED/meter LED strips,
and available as individual 12" sections due to the LED strips 18 inch manufacturing solder process.
LED strips will soon be available with the VinyLED strip pre-applied, in your choice of LED color and VinyLED strip color.
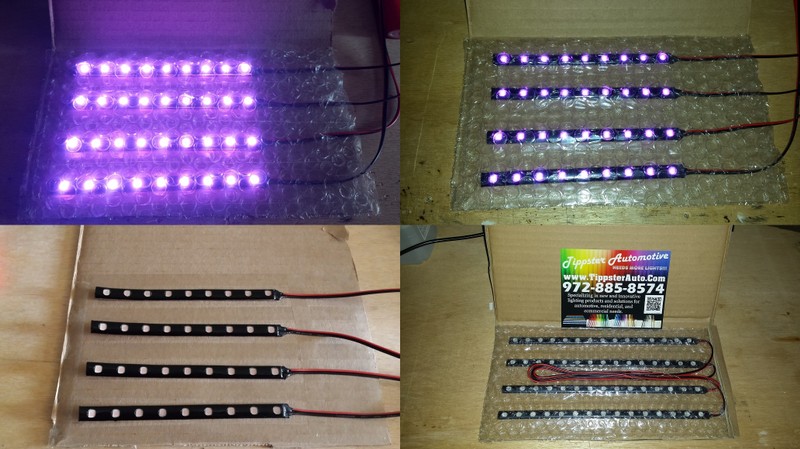
Here is a short demo sign displaying the VinyLED capabilities.
Online review of how they end up coming out

Also Available on eBay: http://www.ebay.com/itm/181456816841
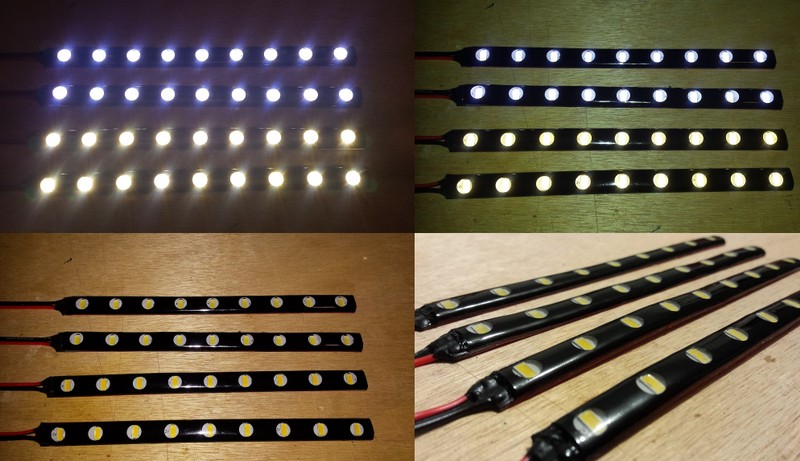
Black
and
White
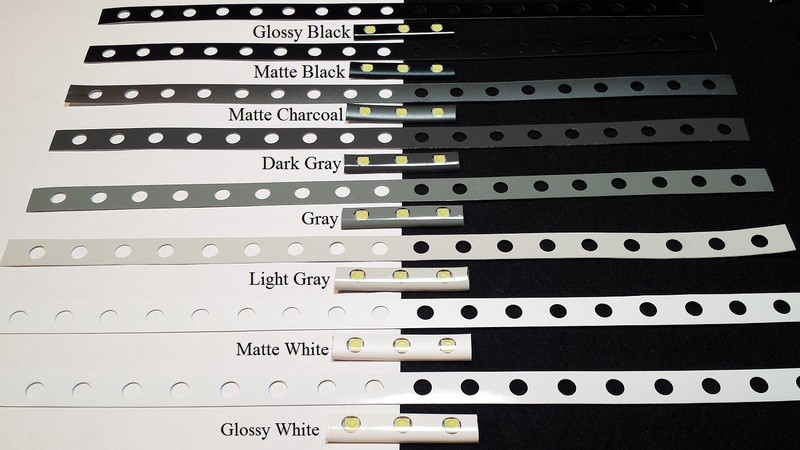
Red
thru
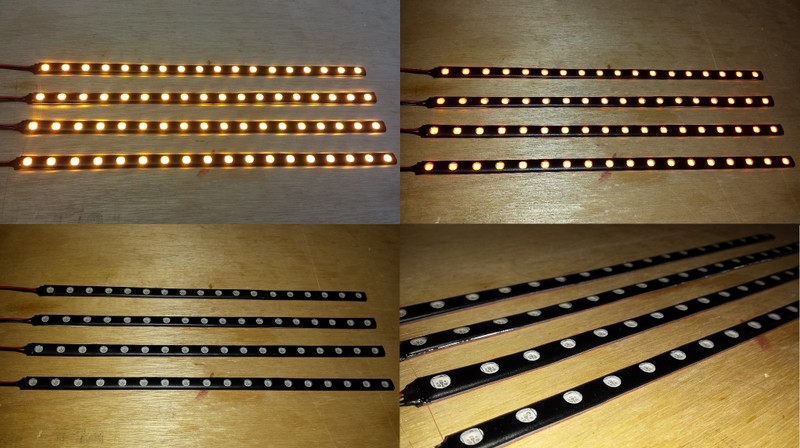
Orange

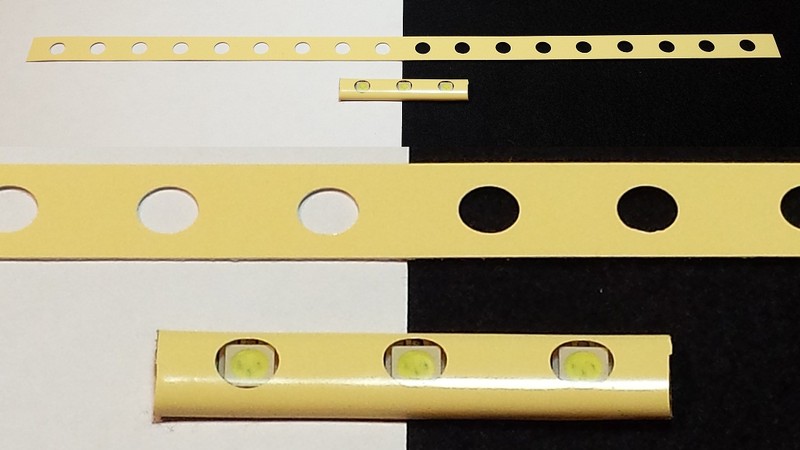
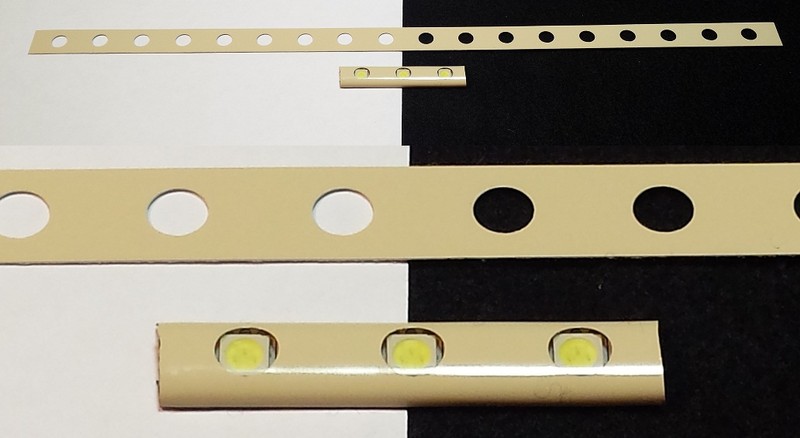
Yellow

Green
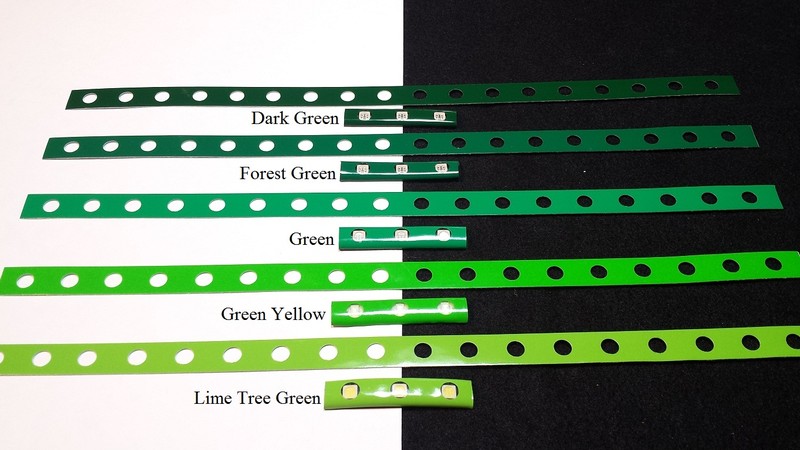
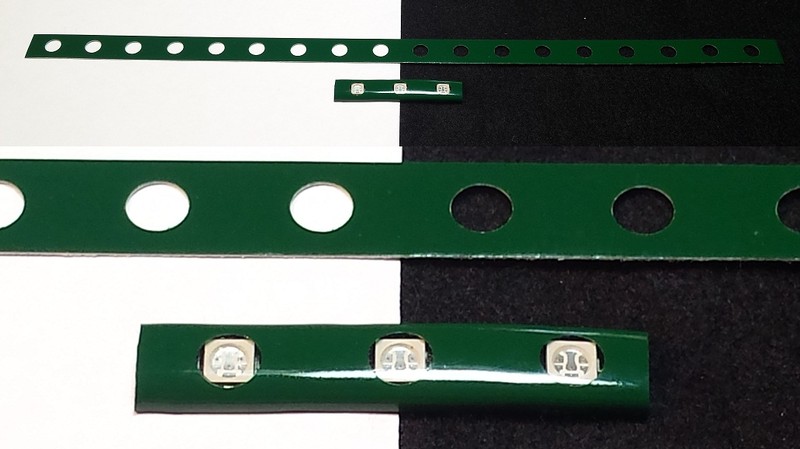
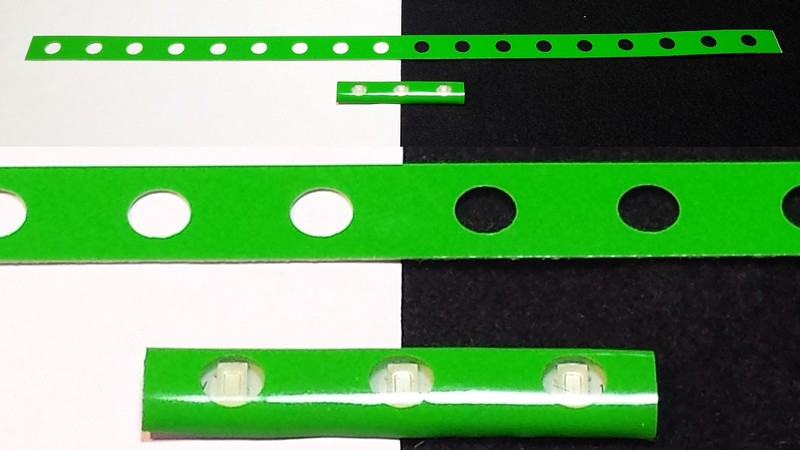
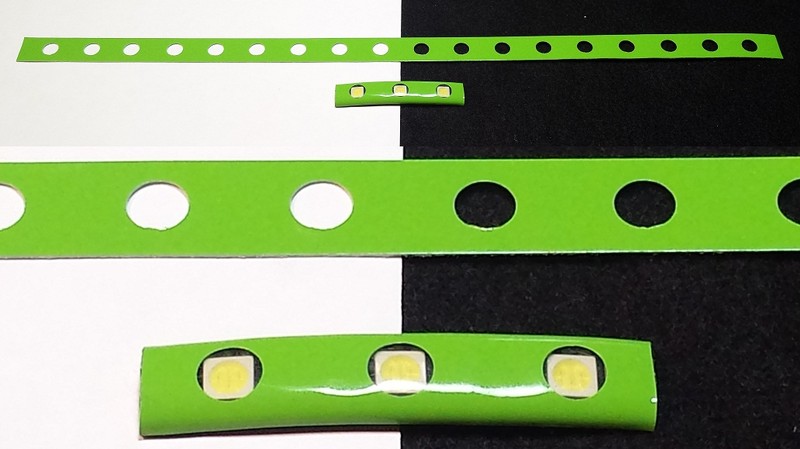
1960's Green
Blue

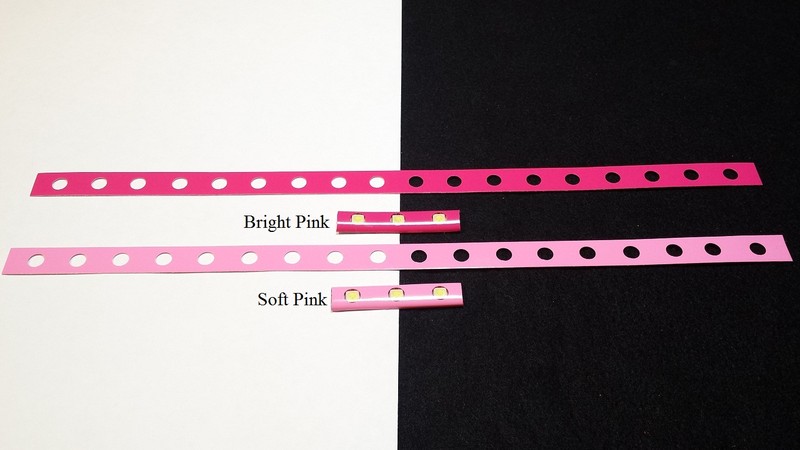
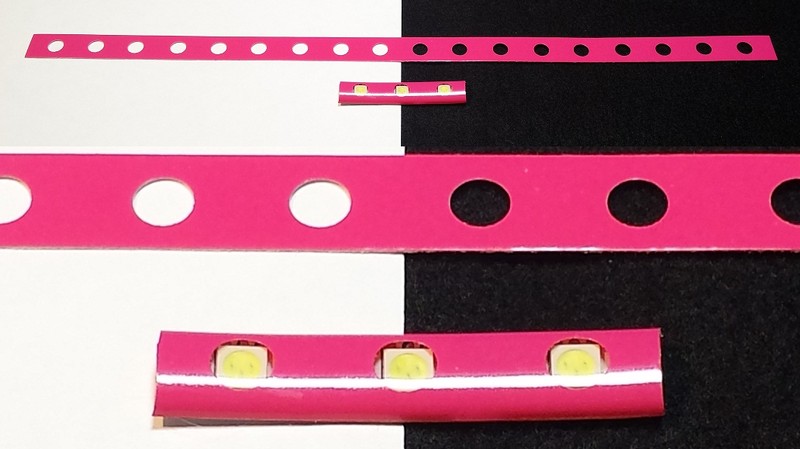
Pink
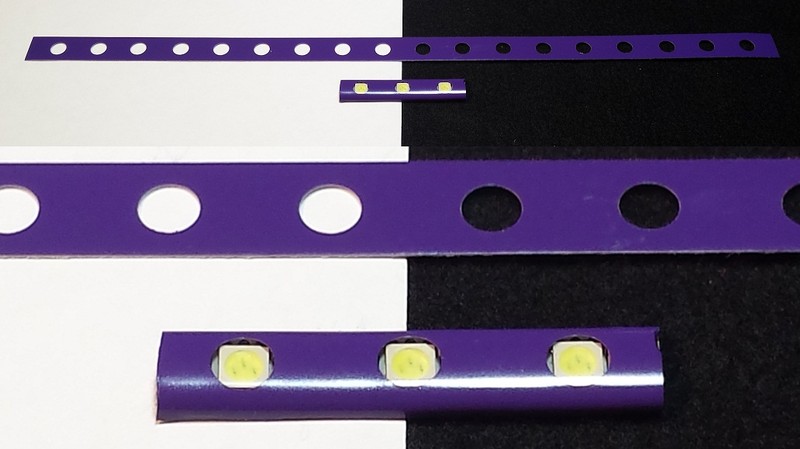
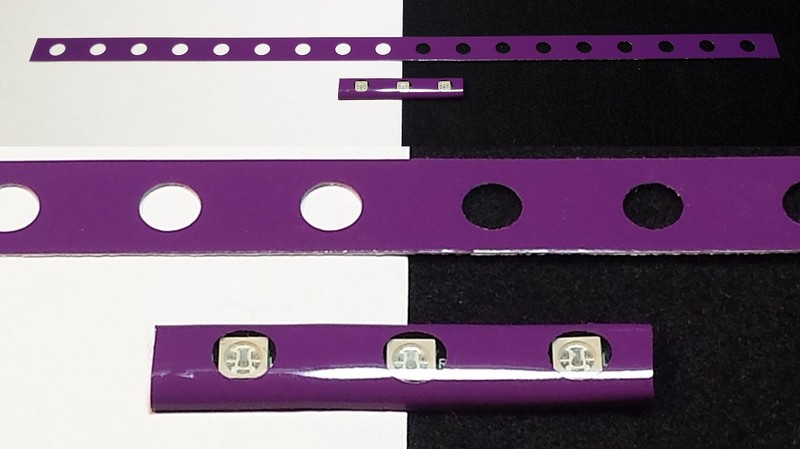
Purple
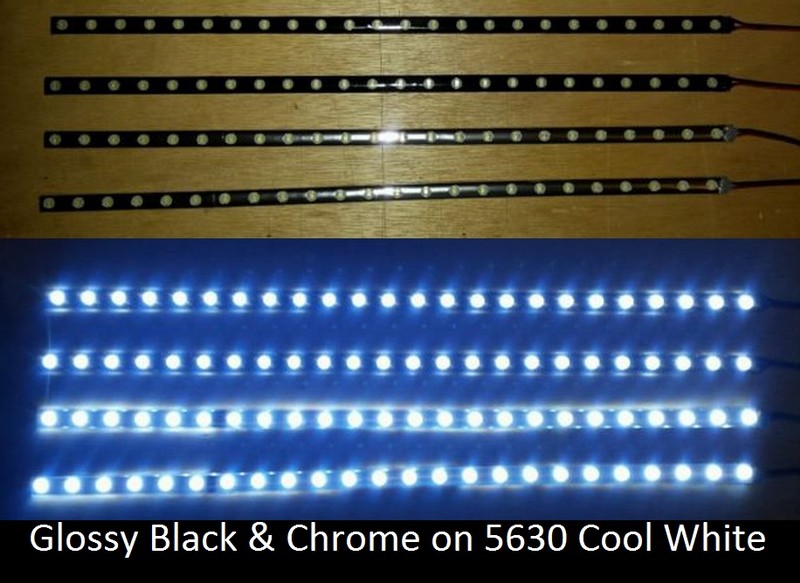
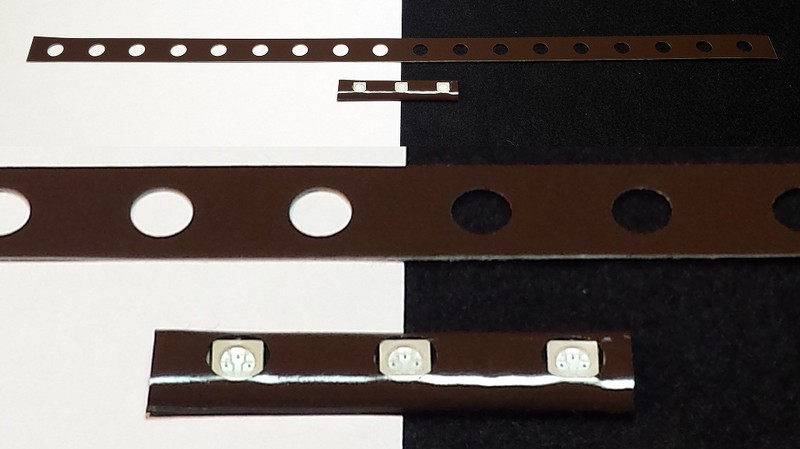
Metallic
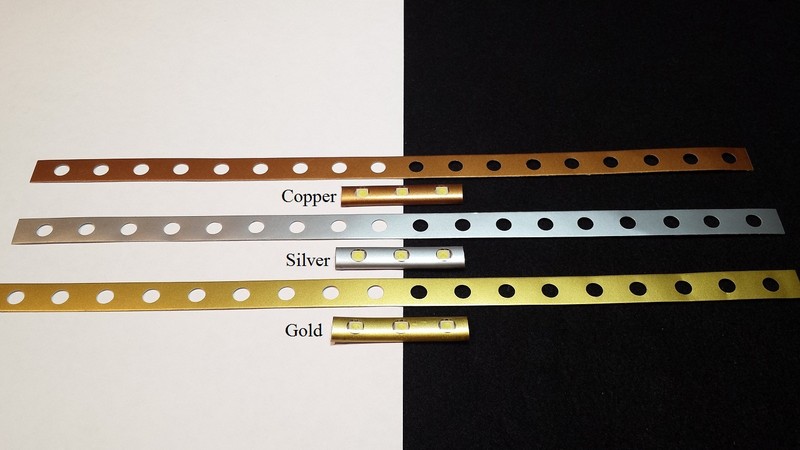
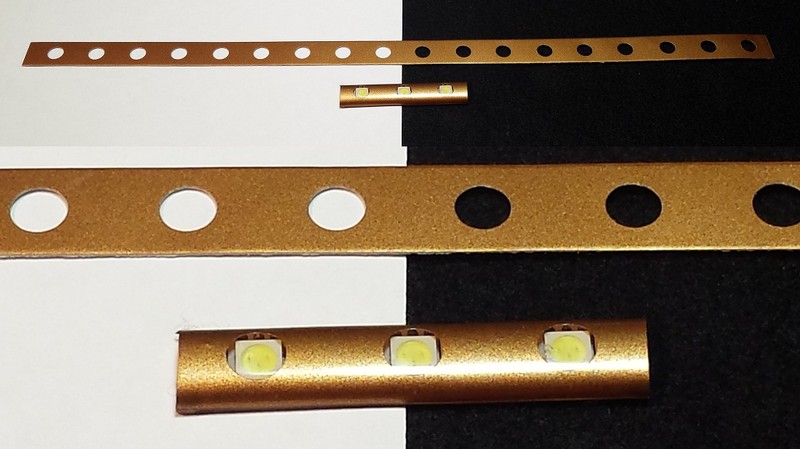
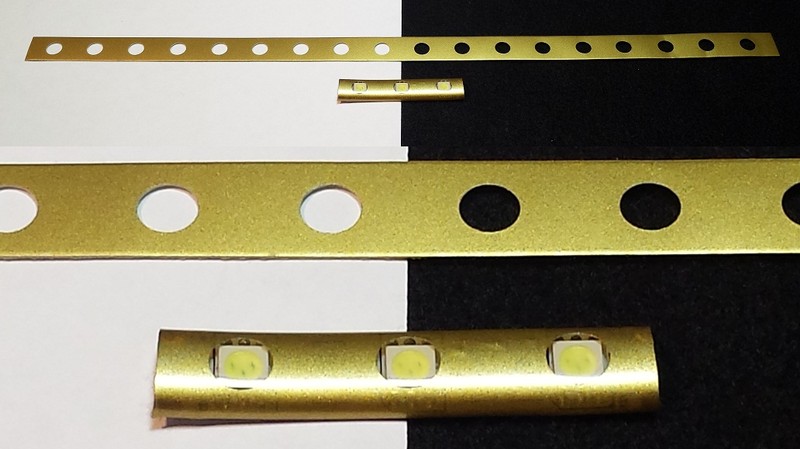
Natural
Tones
Easy How-To:
The way we affix them is:
* Overlay the VinyLED on the LED strip to be covered. Cut the VinyLED strip to match the end of the wired end of the LED strip. If you have silicon, or liquid tape on the wire end, leave a little to cover that.
* Use some scissors or a razor to cut off the Vinyl overhanging on the end opposite the wired end, leaving about 1mm of overhang.
* Start at one end and remove the adhesive backing from like 5 or 6 holes worth on the strip.
* Line up the 2nd and 5th or 6th holes, and press down in the middle lightly. Pressing lightly makes them stick, but in case you mis-align them, they can still be brought back up without overstretching the vinyl.
* Press down by the 1st hole.
* Work your way down the LED strip, making sure each hole on the VinyLED matches up to its respective LED.
* Once you're happy with the placement, go ahead and run your finger down the length of the strip, applying pressure to the vinyl.
* Next, apply pressure to the sides using your index finger and thumb, again, running the length of the strip.
* Now take a hair dryer to heat up the curved edges along the length of the entire strip. You might have noticed that they might want to come off the strip a little. The heat solves this problem. Since this is automotive grade vinyl, you can really hold it there for a few seconds before moving on to the next area. I usually do this on the edge of a table, which makes it much easier when applying pressure to the strip.
*If you're using the stock adhesive that normally comes on the strips, then you may need to trim the edges of the Vinyl to get a uniform look. If you've switched out to a double sided foam mounting tape (as I do), then it shouldn't be a problem.
*Lastly, the wired area needs to be brought down to mesh with the sealant or shrink wrap. I've found the best way to achieve this is using a simple lighter. Flip the strip over and put the flame under the area for about 2 seconds, moving it around a bit, then apply pressure to it by pushing it into a towel or washcloth. This applies an equal amount of pressure to all areas.
***If you're wanting to cover a strip longer than 12", OR have a solder point in the middle of your strip (which is why they don't come in rolls yet), simply cut one length to end off in the middle of the area of concern, apply, then trim the next strip to match up slightly past the existing applied strip.
Since the precise distance between solder points vary, I've found that this is the easiest and most consistent method of getting a great end result. The overlay also prevents any contraction over time that would lead to a color gap.
If you find that any areas (especially around the holes) have become unseated, a little heat and finger pressure takes care of that.